Download Stream Bridge Plugin
Version 0.7.3.2 - For OBS Studio 32+
The easiest way to multistream with OBS. No terminal commands needed!
Running into issues?
Get help and solutions →Choose Your Version
Select the plugin version that matches your OBS installation
What to Expect: Security Warnings
This is NORMAL and SAFE. Your browser or operating system may show security warnings because this plugin isn't from the official app store. Here's what you'll see:
🪟 Windows
"Windows protected your PC"
Click "More info" → "Run anyway"
🍎 Mac
"Cannot be opened"
Go to System Settings → Privacy & Security → "Open Anyway"
🐧 Linux
Usually no warnings
May need sudo permissions for installation
Why these warnings? The plugin is open-source and safe, but not code-signed with expensive certificates ($300-500/year). This is common for free, community-developed tools.
Need help? View detailed troubleshooting guide →🪟 Windows
OBS Studio 32+
Recommended - Automatic installation
⚠️ Don't mix installation methods
🍎 Mac
OBS Studio 32+
Requires "Allow Anyway" in Security settings
🐧 Linux
OBS Studio 32+
Ubuntu 24.04+
How to Check Your OBS Version:
- Open OBS Studio
- Click Help → About
- Look for the version number (e.g., "OBS Studio 30.1.2")
Easy Script Instructions
🪟Windows Setup
- Download the
stream-bridge-windows.batfile above - Double-click the .bat file to run it
- Enter your stream keys when prompted
- The script will start the multistream server
- Configure OBS as shown on screen
- Start streaming in OBS!
Note: You need FFmpeg installed. If you don't have it, the script will show installation instructions.
🍎Mac Installation - Step by Step
⚠️ Mac Security Warning - This is Normal!
Mac will block the plugin because it's not from the App Store. Follow these steps to install it safely.
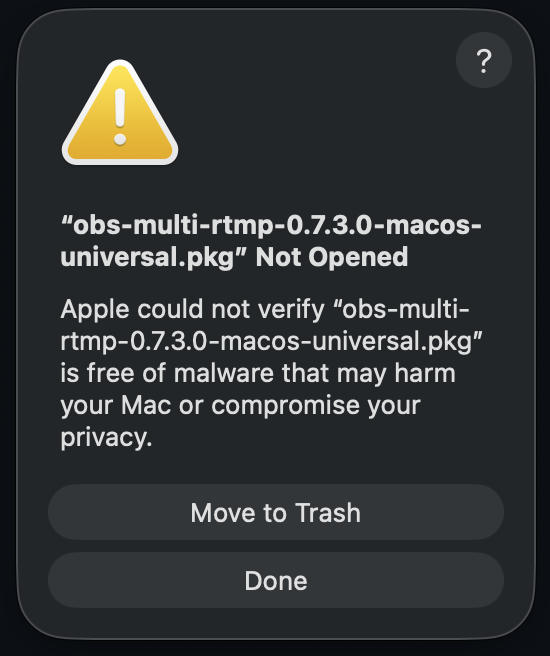
Step 1: You'll See a Security Warning
When you try to open the PKG file, Mac will show this warning. Click "Done" (NOT "Move to Trash").
Step 2: Open System Settings
Go to Apple Menu → System Settings → Privacy & Security. Scroll down to see the blocked file message.
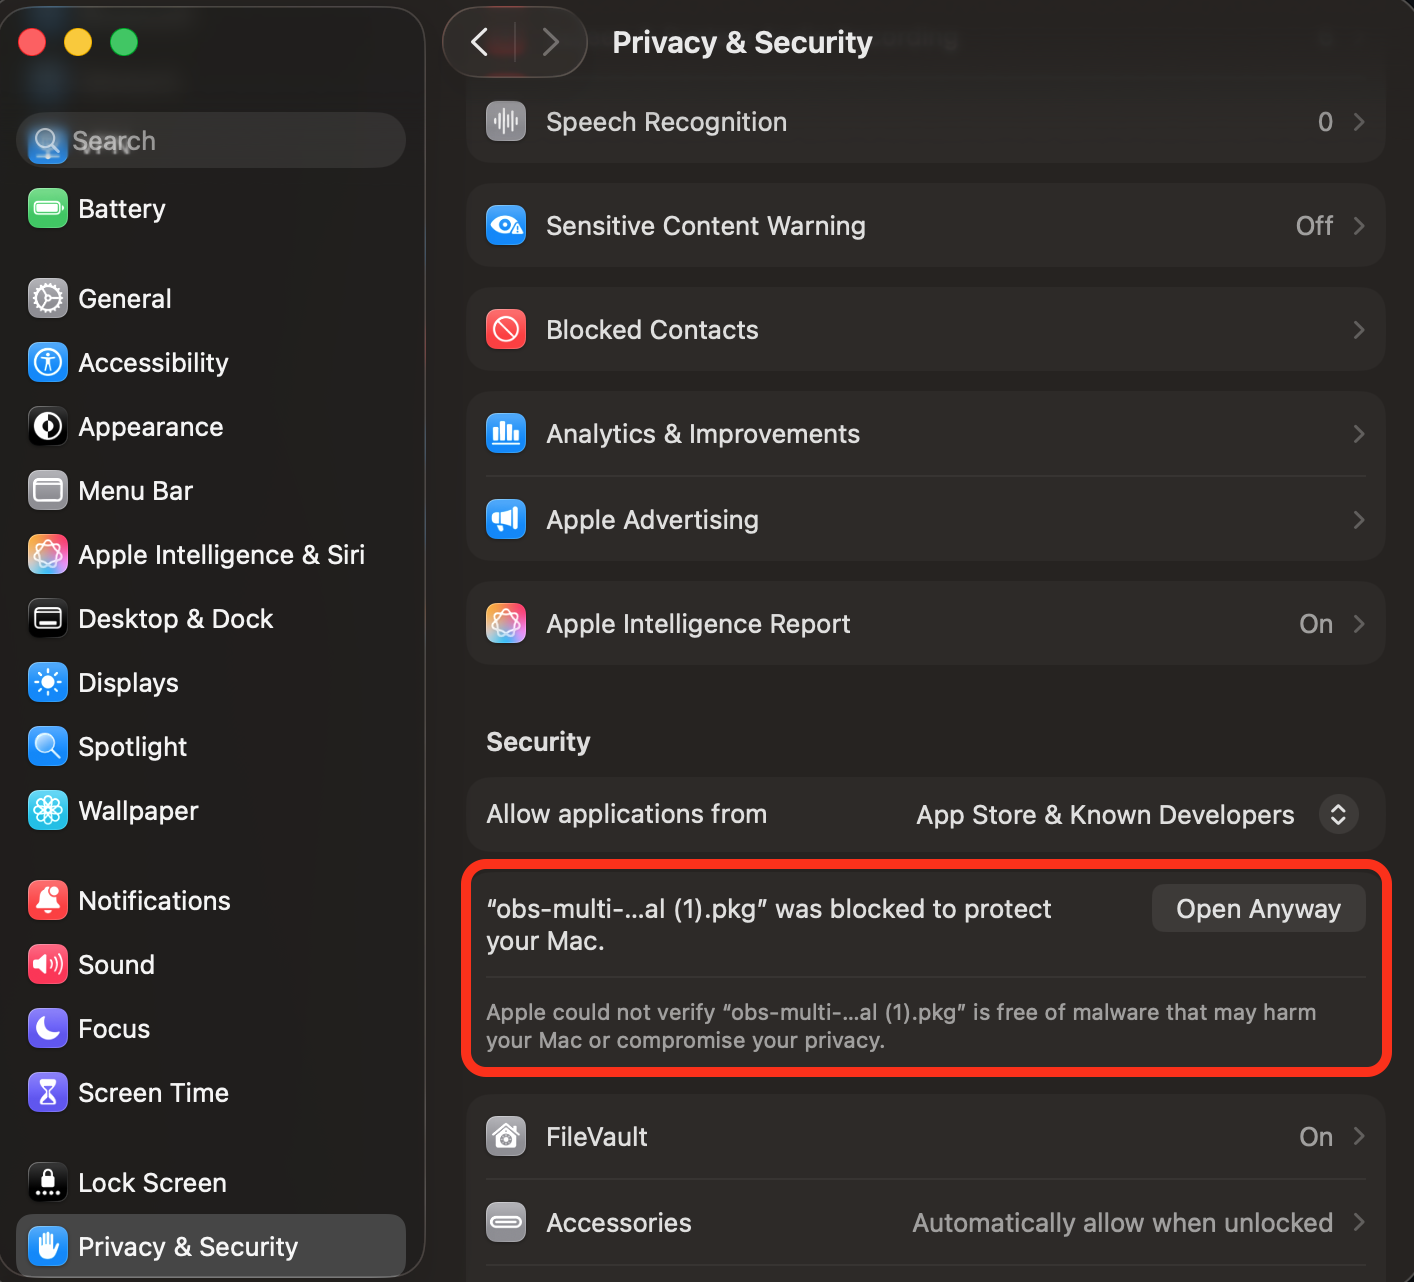
Step 3: Click "Open Anyway"
Find the message about the blocked file and click "Open Anyway".
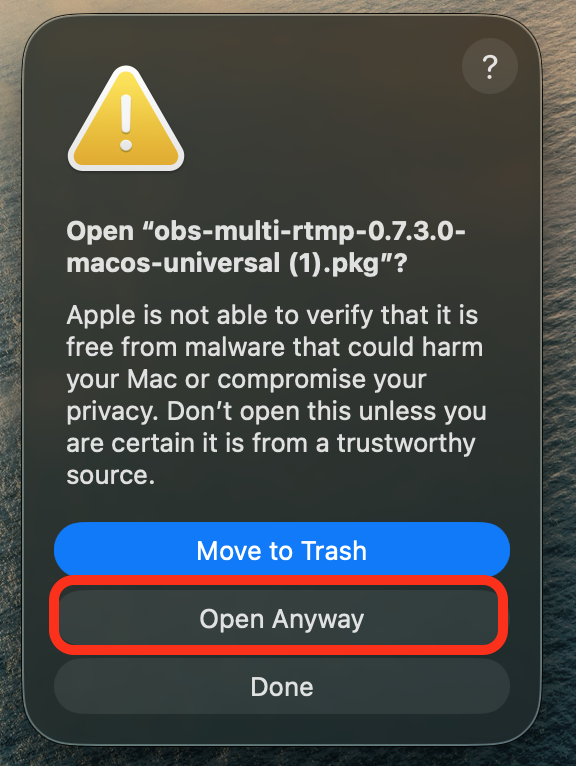
Step 4: Enter Your Password
Mac will ask for your password to confirm. Enter it and click "Open".

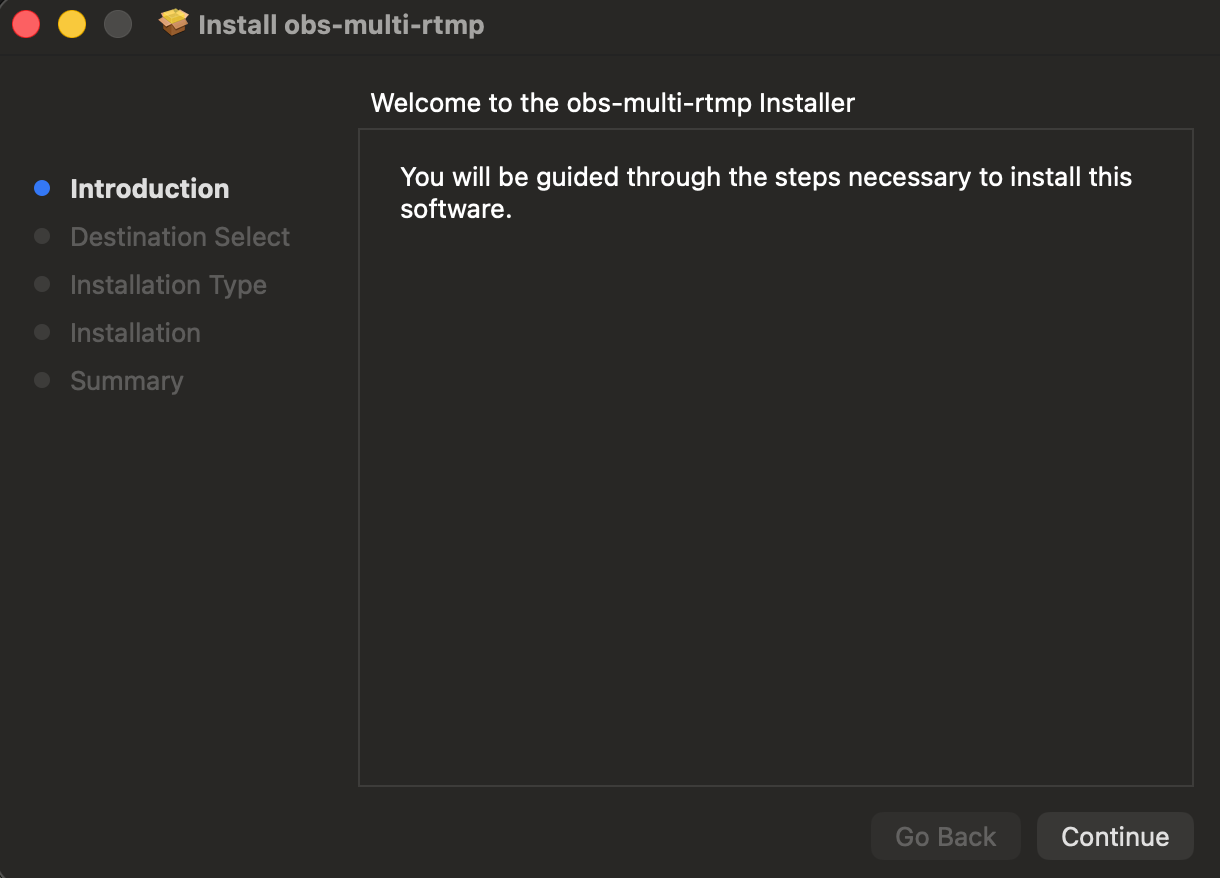
Step 5: Normal Installation
The installer will open normally. Click "Continue" and follow the installation wizard.
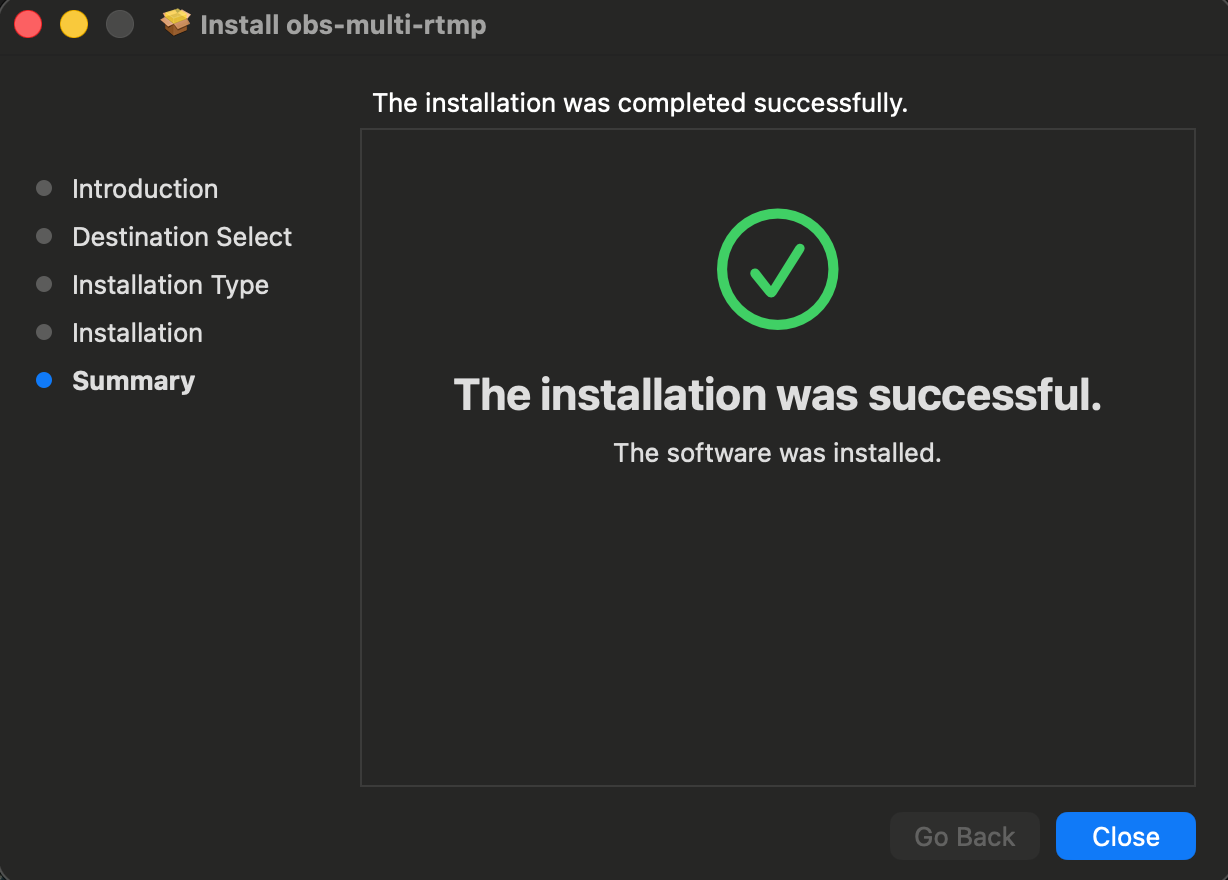
Step 6: Installation Complete
You'll see a success message. Click "Close" and restart OBS.
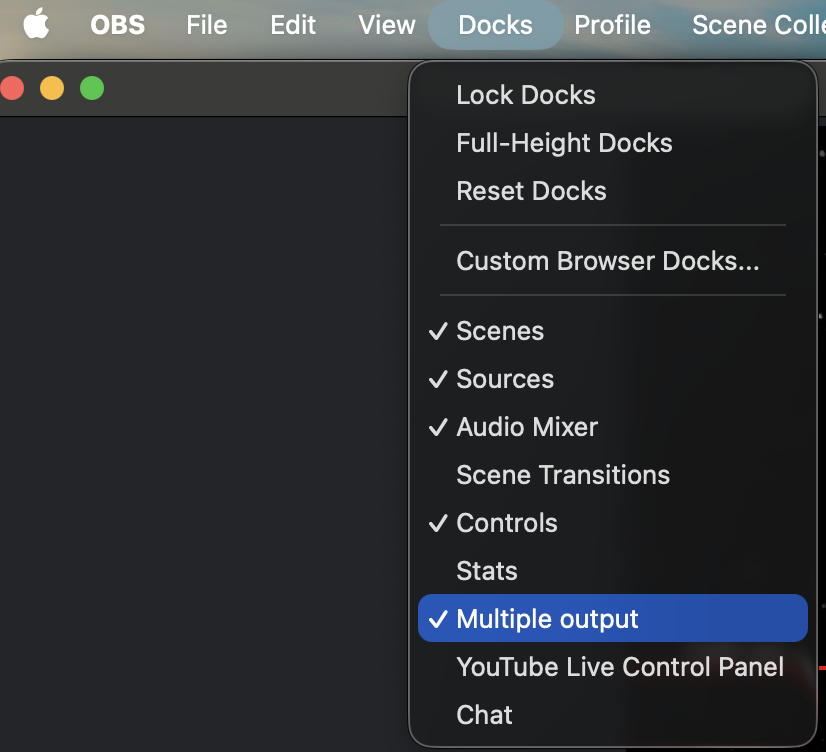
Step 7: Open Multiple Output in OBS
In OBS, go to Docks → Multiple Output. The panel will appear - you can drag it to resize and position it!
✅ You're All Set!
The Multiple Output panel is now in your OBS. Click "Add New Target" to start adding your streaming platforms!
🐧Linux Installation
- Download the Linux DEB file above
- Install the package:
sudo dpkg -i obs-multi-rtmp-linux.deb
- If there are dependency issues, run:
sudo apt-get install -f
- Restart OBS Studio
- Find "Multiple Output" in the Docks menu
Note: This DEB package works on Ubuntu, Debian, and other Debian-based distributions.
How to Use Stream Bridge Plugin
💡 Quick Tip: Update OBS First!
Make sure you're running the latest version of OBS Studio before installing the plugin.
In OBS: Help → Check for Updates
⚠️ Important: Replace Normal OBS Streaming
The Multiple Output plugin replaces OBS's normal streaming. Don't use both at the same time! Turn off normal OBS streaming and use only the Multiple Output panel for all platforms.
- 1
Disable Normal OBS Streaming
Go to Settings → Stream and set it to "Custom" with no stream key, or simply don't use OBS's normal "Start Streaming" button
- 2
Open Multiple Output Panel
In OBS, go to Docks → Multiple Output (look for a tiny panel and resize it)
- 3
Add ALL Your Platforms
Click "Add New Target" for each platform. Here's how to get your stream keys:
📺 YouTube
- Click upload icon → "Go Live"
- Copy Stream URL and Stream Key
- Paste both into the plugin
🎮 Twitch
- Go to Creator Dashboard → Settings → Stream
- Copy your Stream Key
- For URL: Use closest server (e.g., rtmp://live-iad.twitch.tv/app/ for US East)
⚡ Kick
- Profile icon → Settings → Stream Key
- Copy URL and Stream Key
- Paste both into the plugin
👥 Facebook
- Go to Live Producer or Creator Studio
- Copy Server URL and Stream Key
- Paste both into the plugin
- 4
Start Multistreaming
Click "Start" in the Multiple Output panel (NOT OBS's normal streaming button) to begin streaming to all platforms simultaneously
Having Download Issues?
Having trouble getting it working?
Browser blocking your download? Security warnings? Plugin not installing? Don't worry - we have step-by-step solutions for every issue!
Click here for our solutions and get it running! →Plugin doesn't appear in OBS
- Make sure you downloaded the correct version for your OBS
- Restart OBS after installation
- Check Docks menu → Multiple Output
- On Mac, check System Preferences → Security & Privacy
"Version mismatch" error
This means your OBS version doesn't match the plugin version. Check your OBS version (Help → About) and download the matching plugin version above.
Can't connect to streaming platform
- Double-check your stream key is correct
- Verify the RTMP URL matches the platform's requirements
- Ensure your internet upload speed is sufficient
- Try streaming to one platform first to test
Credits & Support the Original Developer
This amazing plugin was created by SoraYuki. We're just making it easier to find and install. All credit goes to the original developer!
🔗Original Repository
View the source code, report issues, and see the latest updates on GitHub.
Visit GitHub Repo→☕Support SoraYuki
This plugin is completely free. If it helps your streaming, consider supporting the developer!
Alipay and WeChat Pay options available on the GitHub page
Important Note
Stream Bridge (this website) is NOT affiliated with the original plugin developer. We're simply providing an easier way to discover and install this amazing tool. For technical support with the plugin itself, please visit the GitHub repository above.
Prefer Command-Line?
If you prefer using terminal commands with FFmpeg, we also have a configuration generator
Use Terminal Method Instead